Do-it-yourself Tomahawk
If you don’t have the luxury to buy a tomahawk, you can make your own. Depending on what you’re going for, you can make a simple tomahawk in different styles. Whether it’s for decorative purposes, a school project, or for a throwing hobby, making a tomahawk can’t be that difficult. This article will guide you on how to make your own simple yet useful tomahawk.
Things you Need:
- 1/4 inch plate steel
- 3/4 inch heavy gauge metal pipe
- Welding Equipment
- File or grinding wheel
Steps on How to Make a Tomahawk
1: The Tomahawk Head
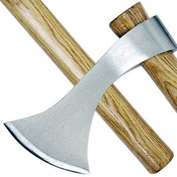
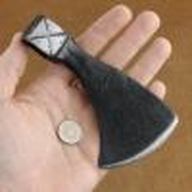
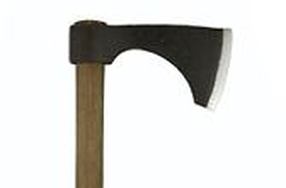
To make the tomahawk head, cut 1/4 inch plate steel in the shape of a tomahawk head. You can also use iron, brass or copper for the blade. The style of the blade may vary, depending on your preference. Below are some shapes that you can try.
|
|
|
2: Sharpen the Blade
Sharpen the blade to about a 300 edge, beveled on either side. It's important to have a sharp blade when throwing, otherwise, it won't stick properly to the target.
3: Heavy Gauge Metal Pipe or Wood Handle
The average tomahawk has a length ranging from 16-21 inches. To achieve this, you can cut your metal pipe to the approximate length of your forearm, which is from inside your elbow to the top of your closed hand. If you feel the hawk if too long, you can always cut it shorter.
4: Welding
Weld the “butt” of the blade that you have cut to the top edge of the handle. The head should be flush with the top of the handle.
5: Remove Burrs
Make sure to remove any burrs that were created from cutting the metal. Any burrs left on the handle or head (other than the blade itself) can be a danger to the thrower.